Complete Blink Floodlight Camera Setup Guide for Smart Home Security
Setting up a Blink floodlight camera combines powerful lighting with intelligent surveillance for unbeatable protection. Whether you choose the hardwired or wireless route, Blink’s floodlight systems enhance security, visibility, and convenience on your property.
In this extensive guide, we’ll explore key advantages, setup details, product reviews, real-world scenarios, and how to buy. With over 1,800 words of insight, you’ll be ready to choose the perfect Blink floodlight camera for your home.
What Is Blink Floodlight Camera Setup?
Blink floodlight camera setup refers to configuring a security camera that includes LED floodlights. Blink offers two primary system types:
- Wired Floodlight Camera: Hardwired into your home’s 100–240 VAC supply, offering 2,600 lumens and steady power (support.blinkforhome.com).
- Outdoor 4 Floodlight Mount (wire-free): Battery-powered accessory attaches to Blink Outdoor 4 camera, delivering 700 lumens (lifewire.com).
Setup involves mounting, power connection, Wi‑Fi network setup, and app configuration. The wired model replaces a standard floodlight, while the wire-free version snaps onto existing Blink Outdoor cameras using alkaline D-cell batteries.
Benefits of a Proper Blink Floodlight Camera Setup
Enhanced Home Security
Motion-triggered floodlights paired with 1080p video provide a powerful deterrent. The wired model emits up to 2,600 lumens—bright enough to spotlight intruders—plus a 105 dB siren to scare off unwelcome guests.
Smart Surveillance Features
Built-in person detection, color night vision, and two-way audio enhance security. The wired model offers person alerts via Blink subscriptions, and Alexa integration allows voice commands and live feeds.
Steps to Perform Blink Floodlight Camera Setup
Step 1: Prepare Your Site
Ensure strong 2.4 GHz Wi‑Fi near the mounting area (within ~100 ft). For wired, verify a UL-listed, weatherproof 4″ junction box is available. For the wire-free version, find a spot with adequate sun exposure for the camera and batteries.
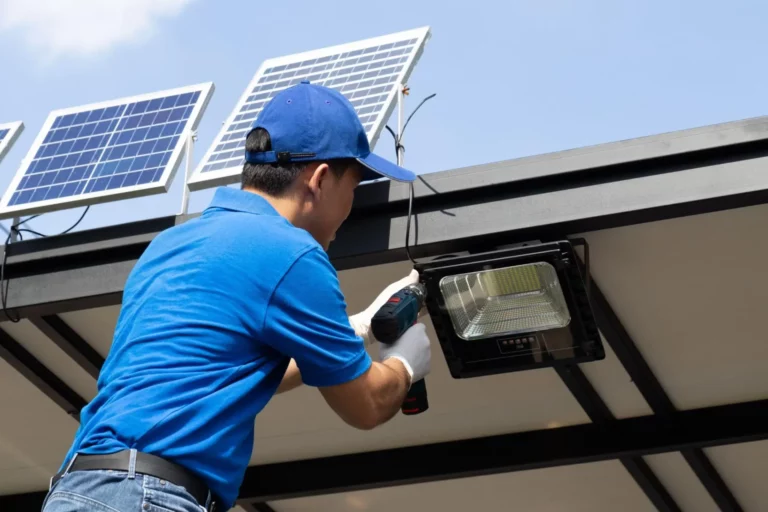
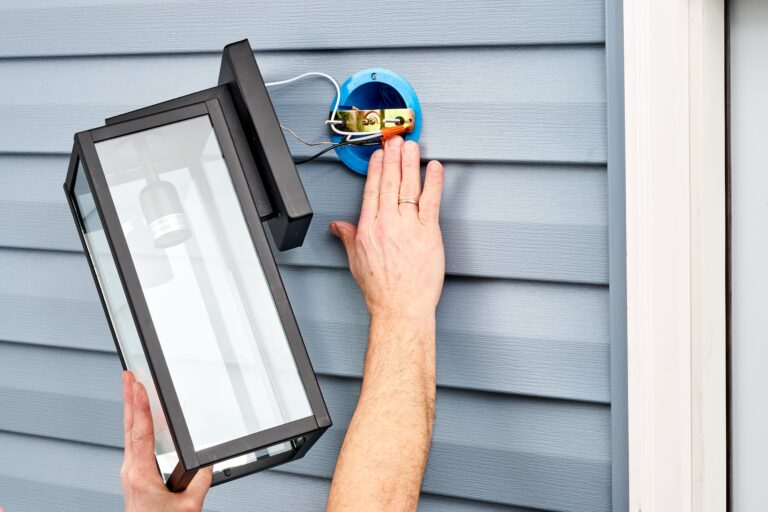
Step 2: Mounting the Device
- Wired model: Switch off the power, mount the metal bracket over the box, connect black (hot), white (neutral), and green (ground) wires, attach the camera/floodlight, then seal (manuals. lus).
- Outdoor 4 Floodlight: Install the mounting bracket using screws or a no-drill strap, insert batteries, plug the micro‑USB cable into your Blink Outdoor 4 camera, then snap into place (support.blinkforhome.com).
Step 3: App Integration
Download the Blink app, create an account, tap the plus icon, scan the QR code, and follow instructions to connect to Wi‑Fi. The Outdoor 4 version also requires the setup of a Sync Module XR for wireless operation (amazon.com).
Step 4: Fine-Tuning and Testing
Use live view to adjust the floodlight directions and tilt the camera. Customize motion zones, light behavior, siren, and schedules via the app. Perform test triggers to confirm proper functionality.
Recommended Blink Floodlight Camera Products
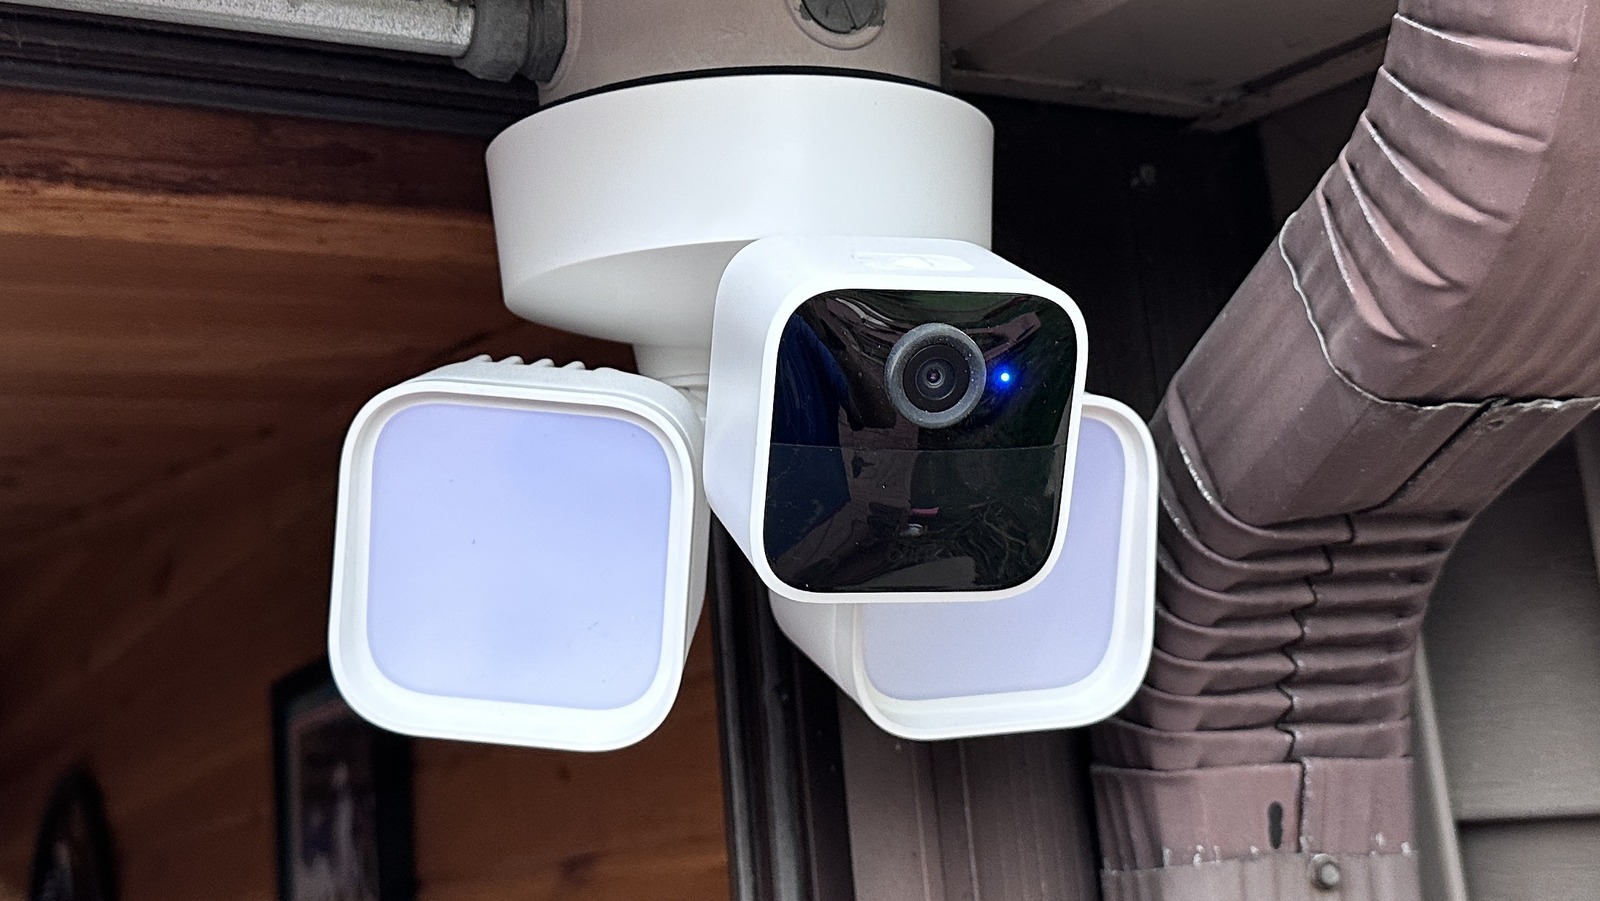
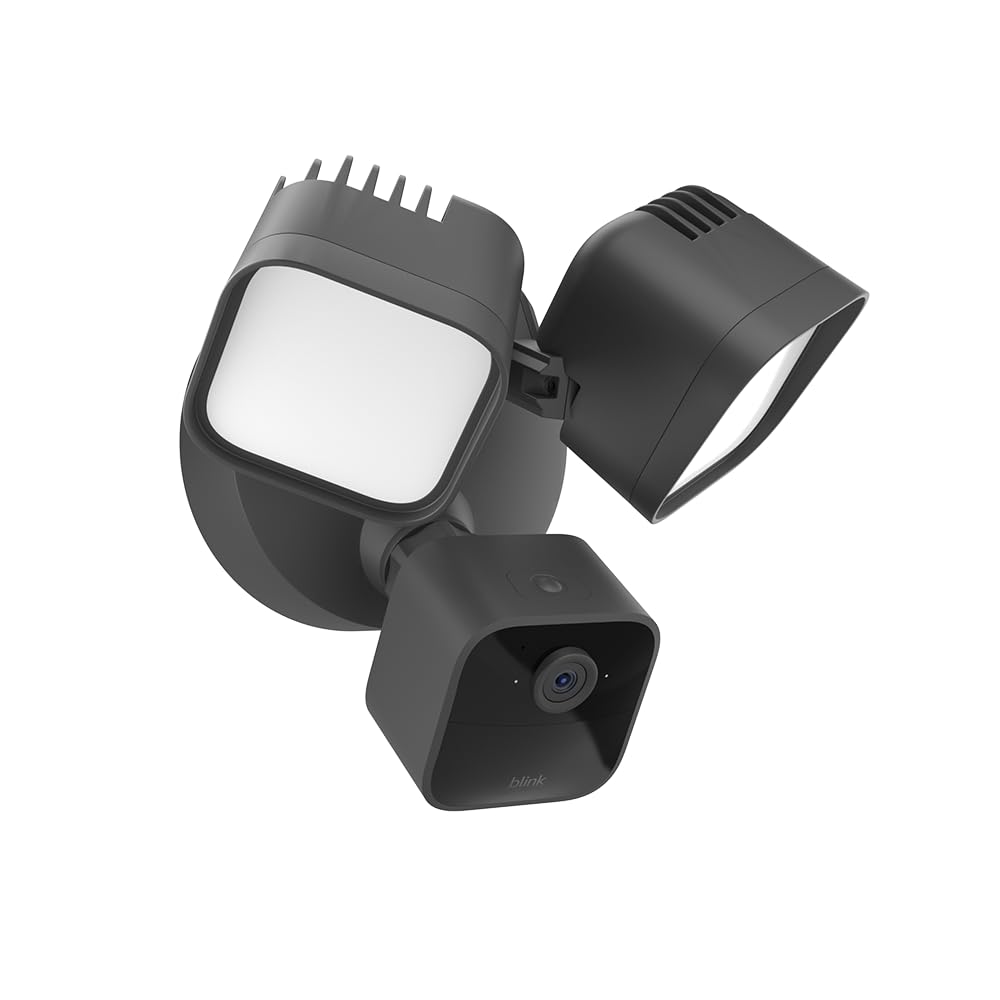
Blink Wired Floodlight Camera
This hardwired version provides 2,600 lumens, 1080p HD video, two-way audio, a 105 dB siren, and color night vision—ideal for consistent lighting without battery concerns.
Why it’s excellent:
Offers superior brightness and uninterrupted power. Adjustable light panels ensure optimal coverage while app integration simplifies control.
Use Case: Perfect for driveways, garages, or yards where power access is available and maximum illumination is needed.
Buy Now:
👉 Shop Blink Wired Floodlight Camera
Blink Outdoor 4 Floodlight Camera
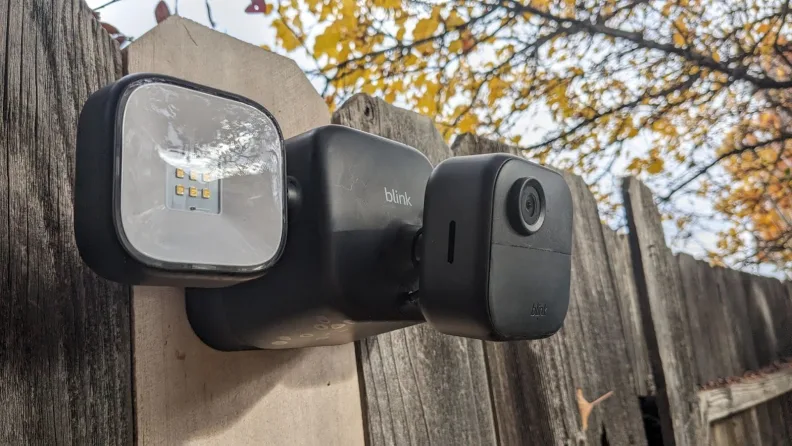
A wire-free accessory delivering 700 lumens with battery power, working seamlessly with Blink Outdoor 4 cameras and Sync Module XR (youtube.com).
Why it’s excellent:
No wiring required, easy 15-minute installation, battery lasts around two years, and integrates with Alexa.
Use Case: Ideal for renters, sheds, or remote areas where hardwiring isn’t practical.
Buy Now:
👉 Buy Blink Outdoor 4 Floodlight Mount
Blink Outdoor 4 + Sync Module XR Bundle
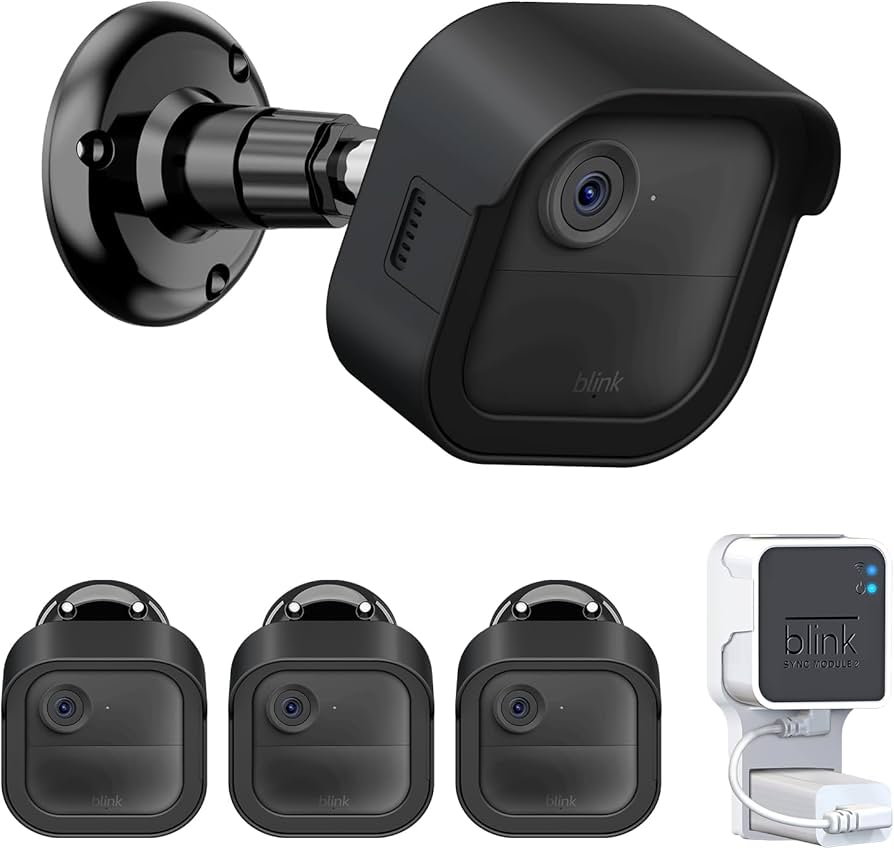
Bundled system with Outdoor 4 camera and Sync Module XR, enabling extended range (up to 400 ft) and flexible floodlight placement (amazon.com, support.blinkforhome.com).
Why it’s excellent:
Complete wireless system that maintains connectivity across larger properties.
Use Case: Suitable for modern homeowners aiming to create a fully wireless, floodlit perimeter.
Buy Now:
👉 Get the Blink Outdoor 4 + Sync Module XR
Blink Wired Floodlight Camera (eBay)
Same feature-rich hardware available through eBay—offers an affordable option with full functionality and brightness.
Use Case: Great alternate purchase route with competitive pricing.
Buy Now:
👉 Purchase Blink Wired Floodlight Camera
Blink Sync Module XR

A hub extending wireless camera range up to 400 ft and enabling local USB storage—crucial for Outdoor 4 floodlight setups (lifewire.com, amazon.com, tomsguide.com).
Use Case: Essential component for wire-free Blink environments requiring reliable coverage and local recording.
Buy Now:
👉 Shop Blink Sync Module XR
Real-Life Benefits and Use Cases
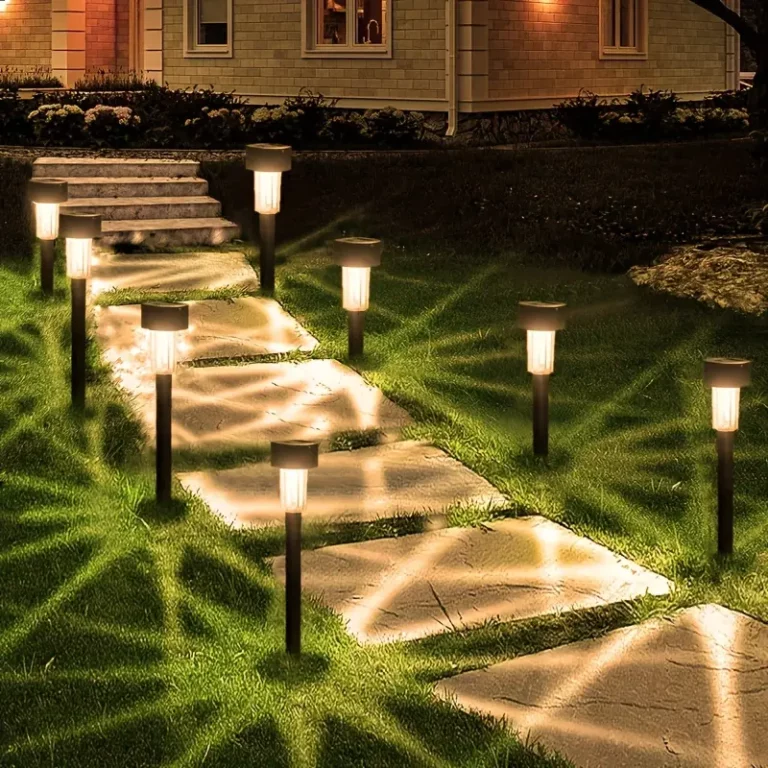
Improved Nighttime Surveillance
Bright floodlights activate upon movement, deterring intruders and improving live footage quality. One Reddit user praises the dusk-to-dawn feature and easy light control in the app or Alexa (reddit.com).
Disaster Monitoring and Safety
A Tom’s Guide review describes using the Blink Wired Floodlight Camera to monitor raccoon activity under a house. The light and motion detection eliminated the need for manual checks (pcworld.com).
Wireless Flexibility
Lifewire highlights the Outdoor 4 floodlight’s quick install and seamless Alexa integration. It allowed flexible placement without electrical wiring (lifewire.com).
How to Buy and Configure
- Choose the Wired model for maximum lumens and constant power.
- Choose Outdoor 4 for wire-free placement.
- Add Sync Module XR for extended range and local storage.
- Buy from credible retailers: Amazon, Best Buy, Lowe’s, eBay, or Ubuy.
- Ensure photographic compliance (junction box, waterproof sealant).
- Download the Blink app and consider subscription plans (Basic $3/mo, Plus $10/mo) for advanced features (tomsguide.com, manuals.plus).
Frequently Asked Questions
Q1: Which Blink floodlight camera model is best for continuous use at home?
A1: The wired model offers 2,600 lumens and uninterrupted power, ideal for nightly use. The Outdoor 4 model offers flexible,, ty but only 700 lumens on battery.
Q2: Do I need a Sync Module for wired floodlight models?
A2: No, wired models connect directly to Wi‑Fi and don’t require a Sync Module. However, the Outdoor 4 versions need the Sync Module XR for range and storage.
Q3: How complex is the installation process?
A3: The Outdoor 4 floodlight is easy and wire-free with a mounting clip. Installation for the wired model is more advanced and may require an electrician, but Blink includes detailed instructions.